Choosing Growth When Comfort Was Easier

Choosing Growth When Comfort Was Easier

For most of my career I lived in a world I knew well — BIM, design, modeling, MEP coordination and production realities.

I had credibility. I had confidence. Some would even call me an expert.
(Hi, I’m a blue-Birkman overthinker, nice to meet you.)

Technical workflows, complex models and solving problems through software always came naturally to me. I loved the work and I loved helping teams build smarter and deliver better.

So when I decided to move into the tech side of the industry, it surprised a lot of people/peers.

Why leave something I had mastered? Why step out of a world where I knew exactly who I was and the expertise I had earned?

Because growth doesn’t live in comfort.


I didn’t just change jobs, I changed altitude and I carried my expertise with me. I’m expanding it into new arenas where I can make a bigger impact, support transformation and help move our industry forward.

At Autodesk I spend more time focused on business outcomes than Revit windows. I help connect technology vision with real-world customer challenges. I’m part of conversations about transformation, not just execution. I help leaders think differently about how work happens, not just how models get built.

And yes , I traded Revit families and systems for Salesforce stages and dashboards. A different type of data, sure – but it still comes down to clarity, alignment and moving work forward with purpose.

This shift stretched me. It took humility, patience and courage.

I went from being the person people came to for answers, to someone willing to ask new questions again.

“You learned Revit. You can learn this too.”

There are days I miss being the expert in many rooms. On those days I remind myself that mastery isn’t lost, it evolves. The tools changed and the responsibility changed, but the mindset didn’t – curiosity, persistence and problem-solving still matter just as much.


What shaped this mindset

Along the way I’ve learned a lot — not just from coworkers and mentors, but from the people closest to me. I truly believe being a lifelong learner is part of my DNA. My son is a young adult now and his confidence and willingness to try new things continually inspires me.

My husband is an Army Veteran, and one of his sayings has taken on new meaning for me in this chapter:

“Comfort Kills.”

It’s a little brash, but it’s true, for personal growth and for our industry.

Innovation starts when things get a little uncomfortable. That’s where real change begins.


Growth doesn’t always feel like confidence.

Some days feel unsteady, not because I can’t do the work, but because I’m stretching beyond what I already mastered. When that happens I ask myself the same thing I ask my son when he faces something hard:

“What decision would your future self thank you for?”

That question rarely points toward comfort. It points toward growth.

Curiosity carried me early in my career.
Courage carries me now.


Comfort is a competitor — not a goal

In AEC and technology we all face a moment:

Stay where it’s familiar
or
step toward what’s possible

“We’ve always done it this way” feels safe, but it doesn’t build the future.

Innovation starts where comfort ends.

In my work at Autodesk I see firms leaning into that discomfort — adopting cloud workflows, embracing connected data, strengthening coordination and modernizing delivery models. They’re not just changing systems. They’re changing mindset and identity. It’s amazing to see companies not just adapt, but excel — increasing their capacity, strengthening collaboration, and growing revenue as they embrace new ways of working and leading through change.


The advice I give my son — and myself

Growth isn’t always convenient. It isn’t always graceful. And it doesn’t always feel good in the moment. But on the other side of discomfort is:

  • new capability
  • new confidence
  • new opportunity

So I remind him — and I remind myself:

Do the hard thing. It means you’re expanding.

Curiosity gets us started.
Courage gets us where we’re meant to go.

If you’re choosing growth over comfort too, I see you. Keep going.

Personal note: I watched my husband navigate that same leap when he left the Army after more than a decade and entered corporate America — a different kind of courage, and a reminder that growth rarely feels easy, but it always builds strength.

The future belongs to the curious and the brave.

Grateful for the teammates and leaders who push, support and challenge me — growth is a team sport.


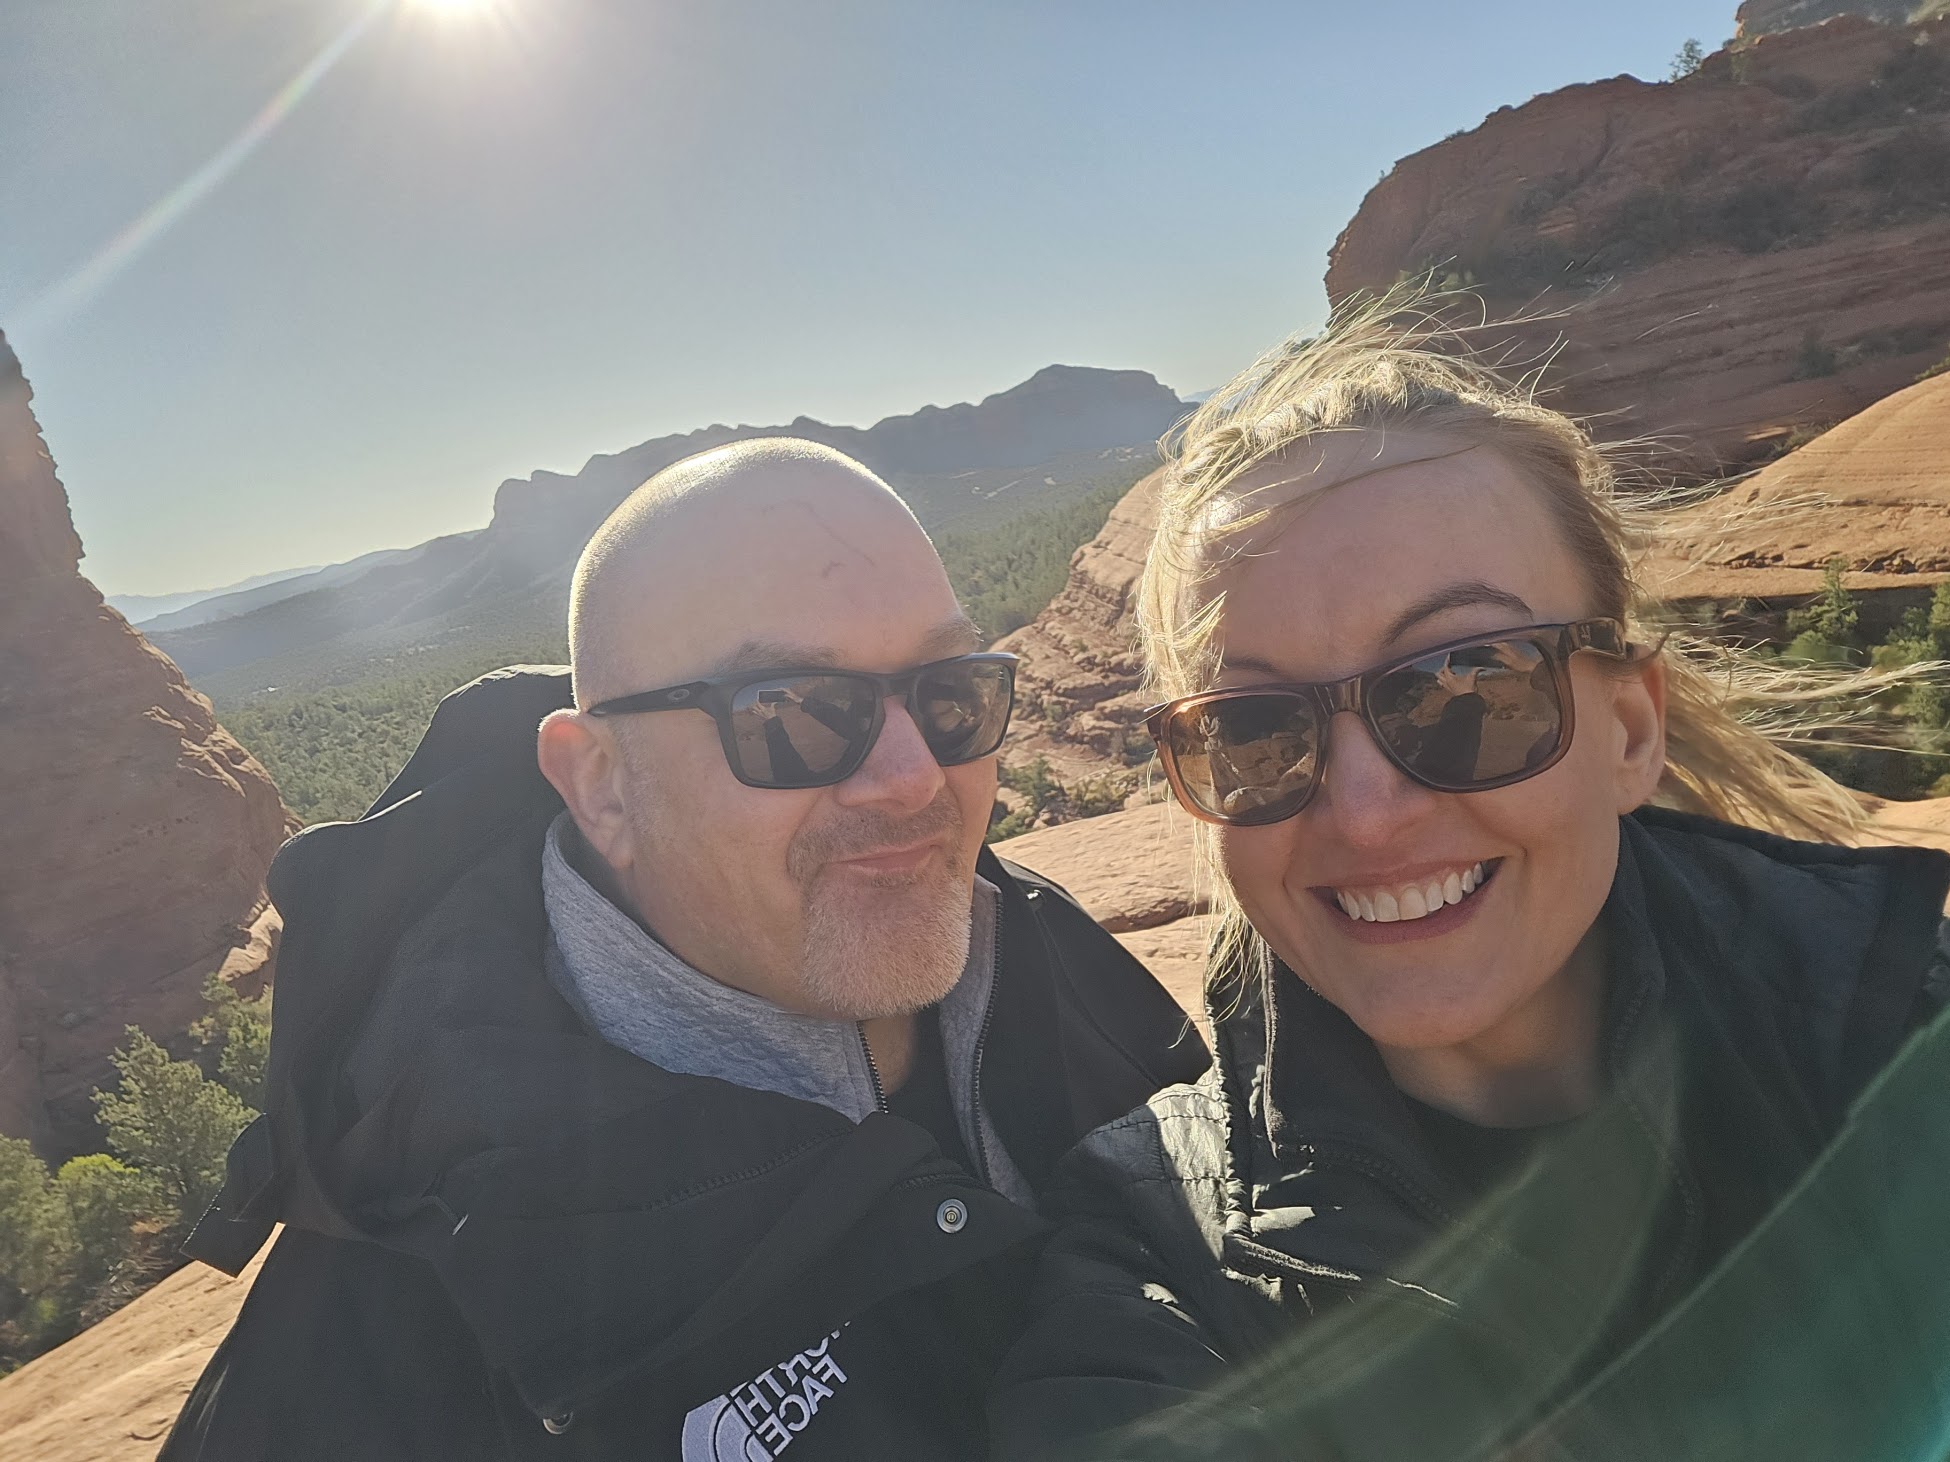
Photos of my family because I mentioned them and they have been part of this journey too.

AI and the Common Data Environment: Why It Matters Long-Term for AEC

In Architecture, Engineering, and Construction, the value of our work isn’t just in the drawings, models, or reports—it’s in the data behind them.

And here’s the kicker: as AI continues to mature, it’s only going to be as smart as the data we give it. Garbage in, garbage out—just with fancier math.

That’s why a strong Common Data Environment (CDE) isn’t optional anymore. It’s the foundation for everything we want to do with AI.

Let’s be honest—how many times have you heard these questions on a project?

  • “Where’s the latest model?”
  • “Do we have the latest program update?”
  • “Wait, which set of specs are we looking at?”
  • “Whose meeting notes are these?”
  • Whats this final.final..v3 file?

If your data is scattered, duplicated, or outdated, AI isn’t going to magically fix it. In fact, it’ll just automate the chaos faster.

But with a well-structured CDE, AI becomes a game-changer:

– Automating repetitive tasks nobody actually likes doing.

– Surfacing design risks before they become change orders

– Connecting insights across disciplines (without 47 reply-all emails)

Supporting better decisions, faster

The real opportunity isn’t about replacing expertise—it’s about amplifying it. Get your data in order today, and when AI takes on a bigger role tomorrow, it’ll be working for you—not against you.

Because in the end, the firms that treat their data like an asset—not a scavenger hunt—are the ones who will thrive


Panel schedules vs (regular) Revit schedules

They might look similar (kind of?) but they serve very different purposes, especially in electrical design. Here’s what sets them apart.

Panel schedules are built specifically for electrical work. They document electrical panelboards or distribution boards, giving you a detailed view of circuits, loads, and related data. Regular Revit schedules are more flexible. You can use them to track materials, equipment, rooms, or pretty much anything else in the model.

Panel schedules focus on electrical elements — circuit numbers, descriptions, load data, voltage, amperage, and so on. Regular schedules can represent any kind of model element, like doors, walls, windows, or furniture.

Both types of schedules can be customized. Panel schedules have options specific to electrical systems, like demand factors or connected equipment. Regular schedules offer broader customization based on whatever you’re scheduling.

Revit includes built-in templates for panel schedules that already include key electrical fields, making it easier to standardize across projects. Regular schedules can use templates too, but they’re more adaptable depending on what you’re tracking.

Panel schedules are directly tied to the panelboards in your model. If you update a circuit, the schedule updates automatically. Regular schedules also reflect model data, but the connection isn’t always as direct.

One thing to understand: a circuit in Revit isn’t just a row in a table — it’s a real element. A single circuit can include multiple devices, just like in the field. Those devices are linked to the panel through the electrical connector in the family.

A common mistake is thinking load classification happens at the circuit level. It’s actually defined in the electrical connector. That means:

  • A circuit can serve several devices
  • Those devices can have different load classifications
  • The panel schedule totals loads based on what’s defined at the connector

If your schedule looks off, check the connector settings — not just the circuit itself.

Revit is basically a database, just with a visual interface. Engineers are used to Excel sheets. The trick is setting up your schedules to help them clearly see the connection between design and data.

Panel schedules give you a focused tool for electrical systems. Regular schedules give you flexibility across all disciplines. Used well, both make your projects more coordinated and much easier to manage.

How to Create and Resolve Electrical Design Issues in Autodesk Construction Cloud — with AI in the Loop

Introduction
In today’s fast-paced construction environment, staying on top of electrical design issues is crucial to ensure smooth project execution. With Autodesk Construction Cloud (ACC), and the added power of AI-assisted drawing review, electrical engineers can now predict and prevent design issues—not just react to them.

In this post, we’ll walk through how to leverage ACC and artificial intelligence to manage, review, and resolve electrical design issues with accuracy and speed.

1. The Importance of Efficient Issue Management in Electrical Design

Electrical systems can be a tangle of complex circuits, loads, and code requirements. A small oversight in the design phase—like an overloaded breaker or mislabelled panel—can snowball into costly field delays.

That’s where a combination of Autodesk Construction Cloud and AI-assisted workflows comes in. You’ll not only detect issues early but also reduce review time and improve quality control.

2. Creating Electrical Design Issues in Autodesk Construction Cloud

a. Run an AI-Driven Drawing Review First

Before a manual review, run your electrical drawing set through an AI-powered checker (like a Dynamo-Python script or third-party model analyzer trained on NEC standards). AI can:

  • Flag overloaded circuits by calculating demand loads vs breaker sizes.
  • Detect missing circuit connections or “orphaned” components.
  • Spot non-compliance with code (e.g., clearance violations, improper feeder sizes).
  • Identify inconsistent naming or mismatched panel schedules.

🧠 Example: I ran a Dynamo script to extract all panelboard data and push it through a Python-based checker. It flagged 6 overloaded circuits and 3 incorrect breaker sizes—all before final review.

b. Push Issues to ACC Automatically

If you’re using AI-powered review tools, you can automatically create issues inside ACC by using APIs or Power Automate. Each flagged issue becomes a trackable item with:

  • Location reference (sheet + view + element ID)
  • Suggested correction (e.g., “Replace 20A breaker with 30A to match load”)
  • AI confidence level (optional)

This jumpstarts your review with a data-driven foundation.

3. Assigning and Tracking Issues in Real-Time with AI Assistance

a. Smart Prioritization

Let AI help prioritize issues based on severity and impact. For example:

  • High severity = overloaded panel near critical equipment
  • Medium = circuit mislabel
  • Low = naming inconsistencies

b. AI Suggestions on Assignments

Some tools can suggest assignees based on past issue history or discipline tags. This saves time in routing.

c. Autotagging with Machine Learning

Use AI to auto-categorize issues by type: panel, circuit, device, NEC violation, coordination, etc. Over time, your AI assistant gets smarter, and your dashboard becomes clearer.

4. Resolving Electrical Design Issues in Autodesk Construction Cloud

a. AI-Enhanced Collaboration

Rather than leaving a vague “Fix breaker” note, attach AI-generated summaries or visuals:

  • Annotated markups from your review tool
  • Load calculation charts auto-generated from panel data
  • Comparison snapshots (e.g., before/after breaker size change)

This boosts clarity and accelerates resolution.

b. Validation Checks After Fixes

Once someone marks an issue as resolved, run a second AI pass on the updated model to verify the problem is actually fixed:

  • Is the panel still overloaded?
  • Did someone forget to update the schedule?
  • Was a device connected to the wrong circuit?

This makes your closeout process smarter and reduces review fatigue.

c. Use Machine Learning for Continuous Improvement

If your team regularly tags resolved issues with “root cause” or outcome (manual error, coordination gap, spec misread), you can train AI models over time to:

  • Spot common patterns
  • Prevent future errors
  • Recommend process improvements

5. Benefits of Adding AI to Autodesk Construction Cloud Workflows

  • Speed: Reduce manual review time by up to 50%
  • Consistency: Eliminate reviewer bias with objective checks
  • Proactivity: Catch issues before they make it into field coordination
  • Integration: Automatically feed findings into your ACC workflows
  • Transparency: Better reporting for QA/QC with auditable logs

Conclusion

Combining Autodesk Construction Cloud with AI-enhanced electrical design review gives your team a huge leg up. You’ll not only flag errors earlier but resolve them faster, collaborate more effectively, and hand off cleaner, smarter designs to the field.

If you haven’t added AI to your electrical workflows yet—this is your sign to start.

Supercharge Your Electrical Design Review with AI in Revit

As electrical designers, we spend countless hours ensuring our Revit drawings are clean, compliant, and coordination-ready. But what if AI could lend a hand—spotting errors, catching clashes, and even suggesting improvements? In this post, I’m sharing how I’m starting to harness AI to help with quality control in my electrical Revit workflows.

1. The Pain Points We All Know
– Missed circuit connections 
– Overloaded panels 
– Inconsistent annotation 
– Clearance violations 
– Outdated or misaligned tags 

2. AI to the Rescue: What’s Possible Now
With tools like Autodesk’s AI-driven insights, Revit Add-ins, and custom Dynamo scripts enhanced with machine learning models, we can now:
– Automatically flag overloaded circuits 
– Identify unconnected devices or annotation issues 
– Detect code compliance violations 
– Suggest corrections based on typical design patterns 

3. Tools & Workflows to Explore
– Autodesk Construction Cloud Insight: Use AI to analyze issues across projects and track design trends. 
– Dynamo + Python: Build custom scripts that parse panel schedules and verify design intent using logic or ML. 
– Plugins like Verifi3D or AVAIL: These tools integrate rule-based checking and can assist with standards enforcement. 

4. Real-World Example
In a recent project, I ran a Dynamo script to extract all panelboard data and push it through a Python-based checker that flagged 6 overloaded circuits and 3 incorrect breaker sizes—all before final review.

5. Looking Ahead
The future is bright. As Revit’s API expands and AI tools like Autodesk Forma evolve, we’ll see deeper integrations that let us ask questions like:


– “Are there any circuits that don’t meet NEC 220 guidelines?”

 
– “Which tags are not aligned with company standards?”

 
– “Can you suggest optimal routing to reduce voltage drop?” 

Closing Thoughts


We’re still early in the AI-for-design journey, but the gains in quality and speed are already real. If you’re in Revit daily like me, start small—automate one check—and build from there. You’ll be amazed how much time you can save and how much more confident you’ll feel in your drawings.

Link to file

https://drive.google.com/file/d/1rULJVBVQJX6_lVYMvXkdJBUffjXUKzED/view?usp=drivesdk

Revit Schedules! For all the things

Happy New Year! Plan to add some content for Revit for your consideration of workflow and managing your BIM. Let me know in the comments your thoughts or questions!

A big quick tip for working with Revit schedules is to utilize the filtering and sorting capabilities effectively. Here’s how you can make the most out of Revit schedules:

  1. Filtering: Revit schedules allow you to filter the data based on specific criteria, helping you focus on the information you need. Utilize the filtering options to narrow down the schedule’s content and display only the relevant elements. You can filter by parameters such as type, family, level, phase, or any other relevant property. This makes it easier to analyze specific subsets of data without clutter.
  2. Sorting: Arrange the schedule data in a logical and meaningful order by utilizing the sorting feature. You can sort the schedule rows based on any column or parameter, such as alphabetical order, numerical value, or date. Sorting the data allows for easier comprehension and quick identification of important elements in the schedule.
  3. Formatting: Customize the appearance and formatting of your schedule to improve readability. Use column widths, text styles, and font sizes that make the data clear and legible. Apply color schemes or shading to differentiate specific rows or highlight important information. Formatting the schedule properly enhances its visual presentation and makes it easier to interpret.
  4. Calculated Fields: Take advantage of calculated fields to perform calculations or display derived information within the schedule. For example, you can calculate totals, sums, or averages based on the values in other columns. This helps in generating automatic calculations, reducing manual effort, and ensuring accuracy in your schedule data.
  5. Schedule Views: Create multiple schedule views to present different aspects of your project. Each schedule view can focus on a specific set of parameters, categories, or information. This allows you to generate specialized schedules for different purposes, such as material takeoffs, equipment schedules, or coordination schedules.
  6. Schedule Templates: Develop customized schedule templates that are tailored to your project requirements. By setting up templates with predefined column layouts, sorting parameters, and filters, you can save time and maintain consistency across multiple schedules within the project. Templates ensure a standardized approach to schedule creation and reduce repetitive setup work.

Remember to regularly update and synchronize your schedules as the project progresses and changes occur. This helps to ensure that your schedules always reflect the most up-to-date information.

By effectively utilizing the filtering, sorting, formatting, calculated fields, schedule views, and templates in Revit schedules, you can efficiently organize and present project data, saving time and improving productivity in your Revit workflow.


Autodesk University 2023 – Las Vegas

I had an enriching experience at the Autodesk University conference, where I co-spoke with Schneider Electric’s Product Manager, Nicole Boucher on Advanced Electrical Design for Autodesk Revit. The session drew an impressive turnout, especially considering we were scheduled for the almost-last time slot of the conference (last day 3:30pm).

Grateful for everyone who attended the session. Meeting expectations is always a challenge, especially when gauging the audience’s experience with Revit software and electrical design. The dynamic of presenting adds an extra layer to the challenge, yet it’s a rewarding journey

I am eagerly anticipating the software team’s roadmap developments, I’m excited about our ongoing collaboration and committed to being a catalyst for positive change in the industry. The topic of AU this year was be a changemaker!

Autodesk University is not just about sessions; it’s a valuable opportunity to network with both new and old friends in the industry. Building connections enhances the overall experience and fosters a sense of community within the Autodesk ecosystem.

April @ Autodesk last night event (party)
Conference room at The Venetian before the session

Advanced Electrical Design – Revit Extension

Advanced Electrical Design is a powerful tool that enhances the electrical design capabilities within Autodesk Revit software. This extension provides additional functionality and features specifically tailored for electrical engineers and designers working on electrical revit projects.

The Revit Extension for Advanced Electrical Design offers several key benefits:

  1. Enhanced electrical design tools: This extension provides a comprehensive set of tools to create and design electrical systems efficiently. Create single line (one line) quickly within the interface with a drag and drop function. Map to revit families to keep the data connected.
  2. Increased productivity: With the advanced electrical design tools, users can streamline their workflows and save time. The extension automates repetitive tasks between schedules and single line diagrams (one lines), reducing manual effort and improving overall productivity.
  3. Accurate load calculations: The extension includes powerful electrical load calculation capabilities, enabling designers to accurately determine electrical loads and ensure proper distribution and sizing of electrical equipment.
  4. Compliance with industry standards: The extension incorporates industry codes, helping designers adhere to electrical design regulations and requirements. It ensures that electrical systems are designed in accordance with applicable standards, enhancing compliance.
  5. Visual representation, documentation and revit connected families: Users can generate detailed electrical drawings, diagrams, and documentation directly within the Revit environment. AED gives option of key line diagrams and one lines. Roadmapped for future release is riser diagrams.

By leveraging the capabilities of the Revit Extension Advanced Electrical Design, electrical designers and engineers can optimize their workflows, improve collaboration, and efficiently design electrical systems within their building projects.

Schneider Electric and Autodesk collab and came up with this, Check it out.

https://bim-electric.com/

Announcement

https://www.se.com/us/en/about-us/newsroom/news/press-releases/schneider-electric-launches-advanced-electrical-design-for-autodesk-revit-version-24-0-delivering-enhanced-functionality-greater-integration-648b04236d44bf7a0a0a3712

Autodesk University 2022

https://www.autodesk.com/autodesk-university/class/Re-circuit-MEP-workflow-Analytical-Objects-and-BIM-system-modeling-2022

Shared Parameters vs Global Parameters

In Autodesk Revit, the terms “shared parameter” and “global parameter” refer to different concepts related to parameter management within the software. Here’s an explanation of each:

1. Shared Parameter:
A shared parameter in Revit is a custom parameter that you define and share across multiple projects or families. It allows you to create and manage custom information that is not available as built-in parameters in Revit. Shared parameters are typically used to add project-specific data or information that is not included in the default set of parameters provided by Revit.

The shared parameters are defined in a separate file called a “Shared Parameter File” (.txt or .xlsx format) and can be loaded into multiple projects or families, ensuring consistency and standardization of parameter usage. Shared parameters can be assigned to various elements in Revit, such as walls, doors, windows, etc., enabling you to store and retrieve project-specific information efficiently. I tend to view shared parameter as precise adding parameters to only certain families.

2. Global Parameter:
A global parameter in Revit is a special type of parameter that allows you to create a custom parameter that drives or controls other elements within the project. Unlike shared parameters, global parameters are specific to a single project and cannot be shared across multiple projects or families.

Global parameters are used to establish relationships and dependencies between different elements in a project. For example, you can create a global parameter to control the width of multiple doors in a building, and changing the value of that parameter will automatically update the width of all the doors associated with it.

The benefit of using global parameters is that they offer a powerful way to manage and maintain design intent, allowing you to make coordinated changes to multiple elements based on a single parameter modification. I tend to use global as a all approach. Do you want this parameter in all you electrical equipment?

In summary, shared parameters are custom parameters that can be shared across projects or families, providing a way to add project-specific information. On the other hand, global parameters are project-specific parameters used to establish relationships and control elements within a single project.

With companies tending to use project “starter files” instead of a true template, I have noticed more use global parameters as a catch all. Not the best practices since its only saved to the project file and not the actual family.

Revit Keyboard Shortcuts


Utilize Revit Keyboard Shortcuts:
One of the easiest ways to speed up your Revit electrical design is by taking advantage of keyboard shortcuts. Memorize commonly used shortcuts for tasks like placing fixtures, creating circuits, or adjusting parameters. This will save you valuable time by reducing the need to navigate through menus and ribbon panels.

Here’s a list of commonly used keyboard shortcuts in Revit:

General Shortcuts:

  • Ctrl + N: New Project
  • Ctrl + O: Open Project
  • Ctrl + S: Save Project
  • Ctrl + Z: Undo
  • Ctrl + Y: Redo
  • Ctrl + C: Copy
  • Ctrl + V: Paste
  • Ctrl + X: Cut
  • Ctrl + A: Select All
  • Ctrl + F: Find
  • Ctrl + P: Print
  • Ctrl + W: Close View or Project

View Shortcuts:

  • CS: 3D View
  • CG: Graphics Display Options
  • CZ: Zoom In
  • CShift + Z: Zoom Out
  • CP: Pan
  • CT: Temporary Hide/Isolate Element
  • CC: Orient to a View
  • CL: Level
  • CZ + R: Zoom to Fit

Modeling Shortcuts:

  • CR: Rotate
  • CM: Mirror
  • CCtrl + M: Mirror (Draw Axis)
  • CA: Align
  • CE: Create Similar
  • CW: Wall
  • CP + CP: Create Pipe
  • CF: Floor
  • CCtrl + F: Model In-Place Component
  • CCtrl + T: Component or Element Properties
  • CD: Detail Line
  • CH: Tag by Category

Electrical Shortcuts:

  • CG: Conduit
  • CP + CL: Conduit Path
  • CF: Electrical Fixture
  • CCtrl + F: Family Editor
  • CR + RR: Revolve
  • CS + S: Split Element
  • CH: Electrical Equipment
  • CD: Electrical Device
  • CV: Electrical Component
  • CJ: Cable Tray
  • CCtrl + J: Join Geometry
  • CP + CO: Copy to Clipboard

These are just a few examples of keyboard shortcuts in Revit. You can explore more keyboard shortcuts and customize them according to your preferences in the Revit user interface.